Openers · Brampton
Photo-Eye Sensor Alignment or Replacement
The small light on one of the sensors near the floor has gone dark, or it flickers when someone walks past the track.
In plain words
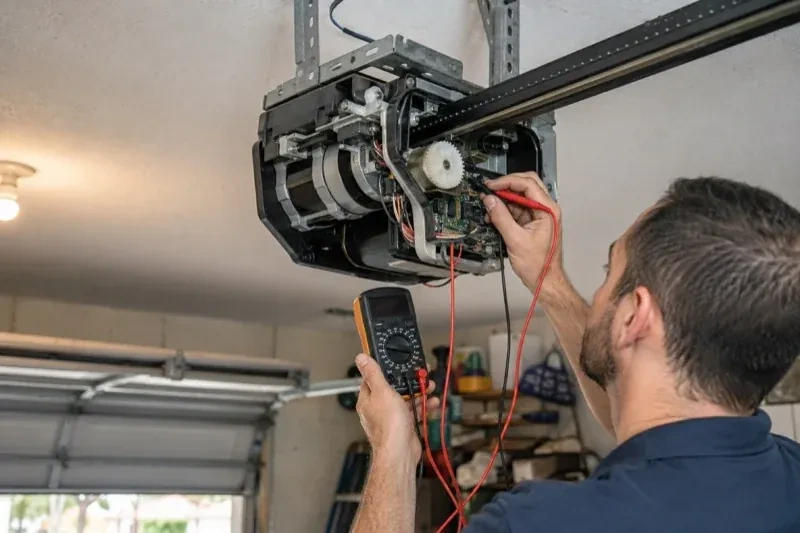
The sensors are only as good as the thin two-conductor wire that links them to the opener. It runs from the low-voltage terminals on the head unit along the ceiling and down each wall to the floor, stapled as it goes, and it is easily pierced, cut during renovations, chewed, or pulled loose at the terminals. When both sensor lights are dark, or the opener's code says the circuit is open or reversed, the technician tests the run end to end, repairs the damaged section or replaces the whole run, checks polarity at the terminals, and clips the new wire clear of the track.
How the visit goesOn bright mornings the door will not close, then by lunchtime it behaves itself. The garage faces the low sun, and the light reaches straight across the floor to one of the little black sensors.
Photo-Eye Sensor Alignment or Replacement
How the visit goes
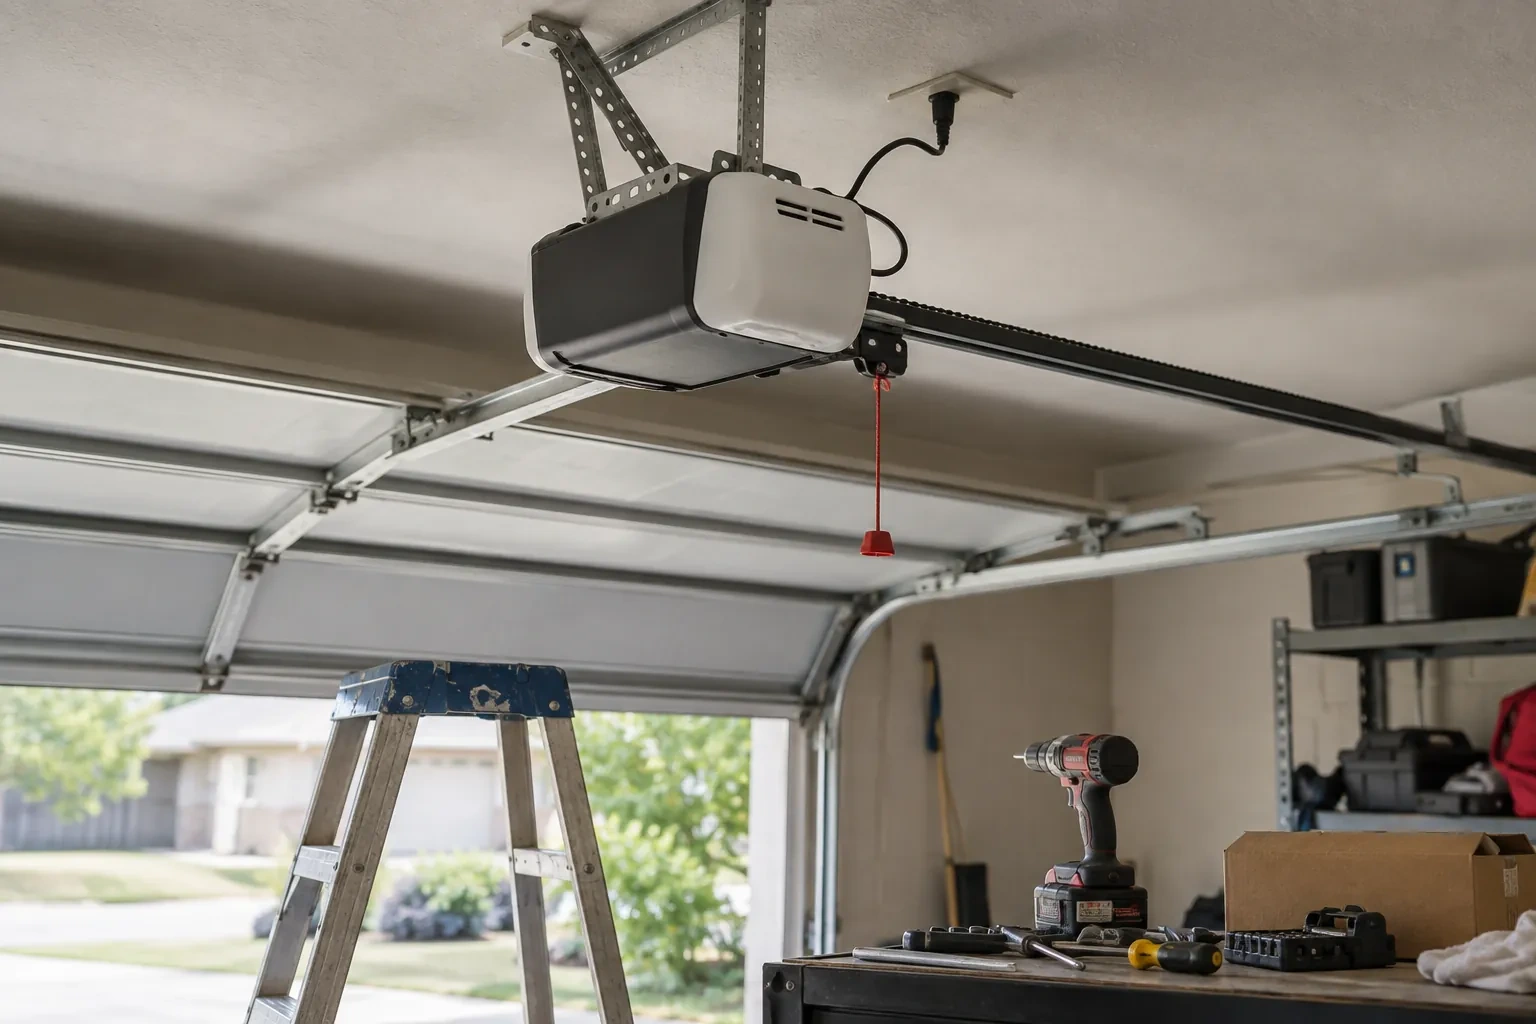
Brackets and height on both sides
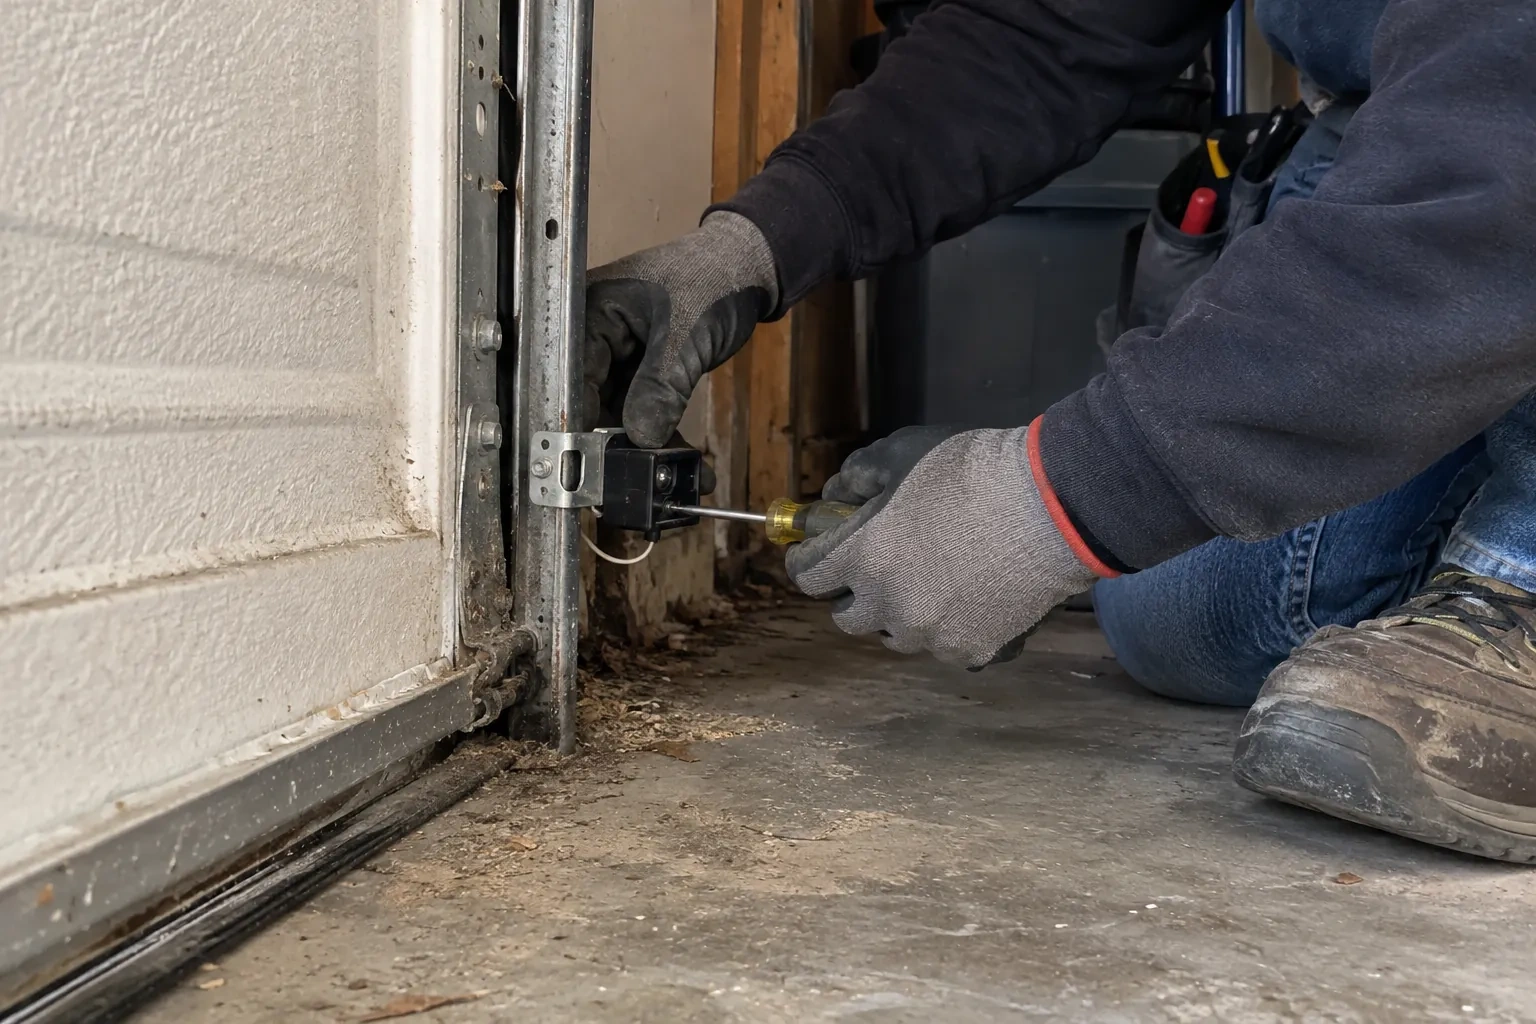
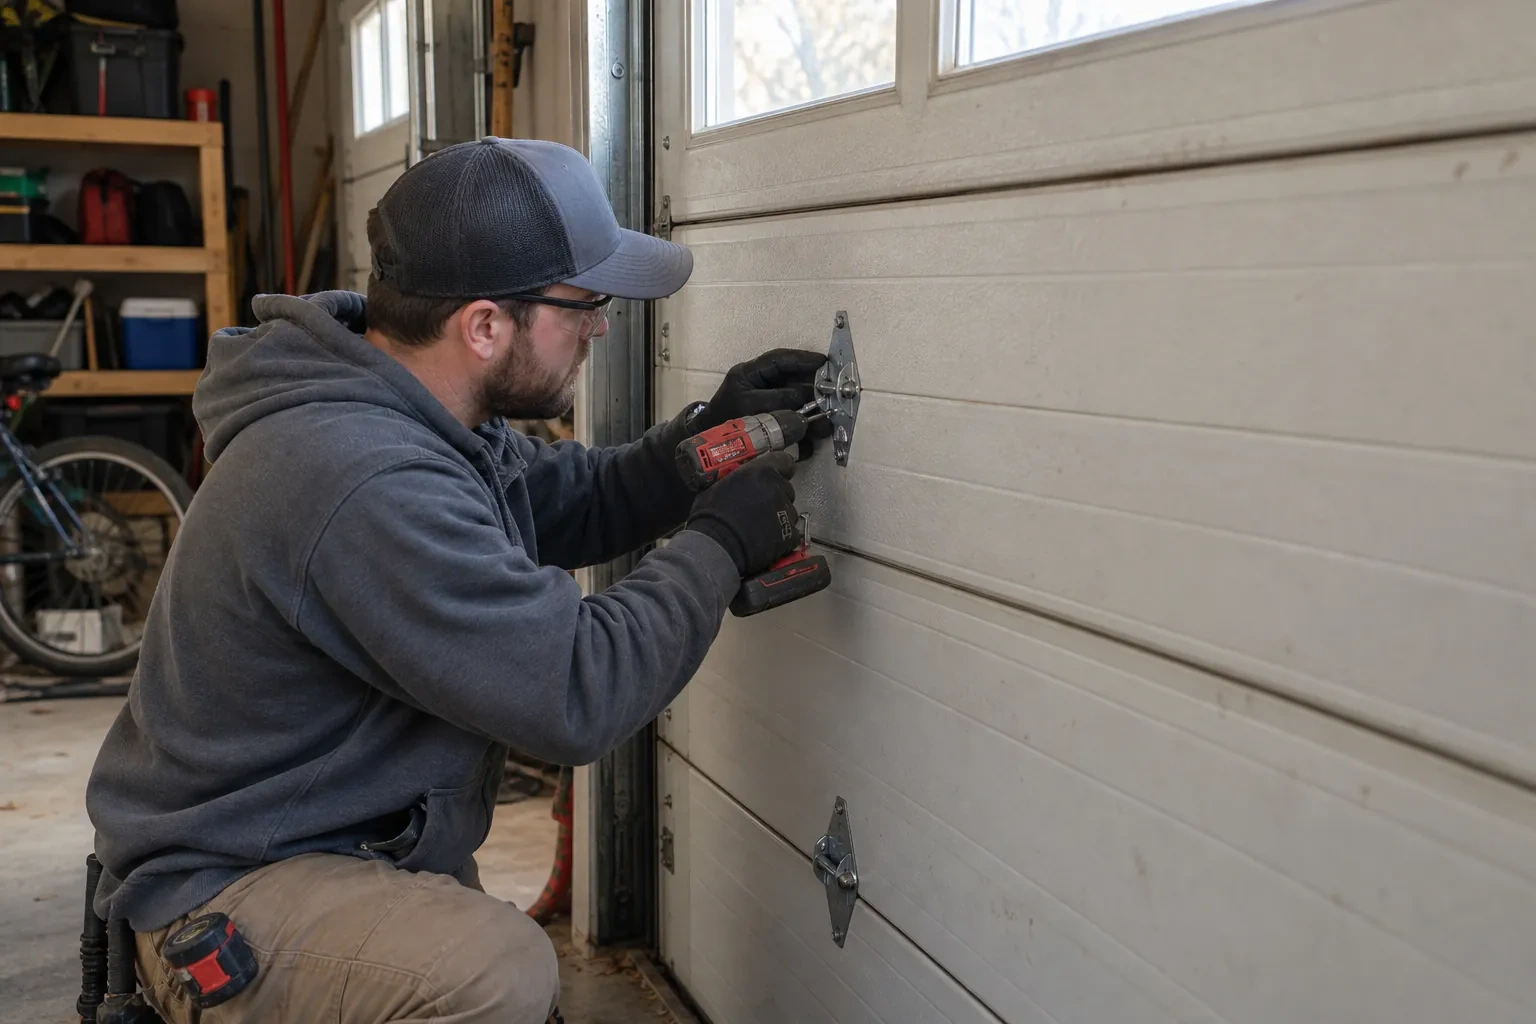
The two sensors have to sit at the same height, level, and facing each other squarely, no higher than about 15 cm (6 in) above the floor so the beam catches a small child or a pet. The technician measures both sides, because a bracket that has slipped a couple of centimetres down a track leg is enough to lose the beam. Each bracket is checked for bends from a bumper or a bin, for loose carriage bolts or wing nuts, and for rust where salt slush has sat against it for winters on end. A bracket screwed to a wall or the floor is checked for anchors that have worked loose.
Cleaning and protecting the lenses
Lenses are wiped with a soft cloth and a mild cleaner, never scraped, and the housings are checked for cracks that let in water. Sensors that have been sitting in the strip where slush and salt collect are raised within the permitted height range and their brackets sealed. On a wall where the wire runs exposed, a slim protective channel keeps it clear of bins and bikes. Where mice have been at the wire, the new run is routed higher along the wall and dropped straight down to each sensor. These small measures are what keep a repair from repeating the following winter.
Winter habits
In the cold months the sensors ask for a little attention. On frosty mornings give a misted lens a moment to clear rather than pressing close over and over, and wipe it with a dry cloth if it does not. Keep salt slush from building up against the brackets, since salt is what corrodes the mounts and terminals over time. Clear snow from just inside the door before closing it, and if the bottom seal has frozen to the slab, free it by hand rather than asking the opener to pull it loose. If the door closes at noon but not at nine, mention it; the low sun may be reaching the receiving eye and a shade sorts that out.
Photo-Eye Sensor Alignment or Replacement
In the van
Protective wire channel
Wing nuts and carriage bolts
Concrete anchors
Wall or floor angle brackets
Matched photo-eye sensor pair
Photo-Eye Sensor Alignment or Replacement
What affects the quote
Access to the doorway and the head unit
A clear strip along the floor and a reachable head unit make for a direct job. Shelving, vehicles or stored goods that must be moved to reach the sensors, wire or terminals add time.
Door-side findings
A balance problem, a stiff roller or a bottom seal that needs replacing sometimes shows up during testing. Those belong to their own service and are noted and quoted separately rather than hidden in the sensor work.
Undoing an earlier shortcut
Sensors taped together beside the motor, mismatched pairs from different generations or a bypassed circuit are put right first, which means new wire down each side and fresh brackets at the doorway.
What to have ready
- Can you see the thin sensor wire, and does any of it look pinched, cut or chewed?
- Does it happen at all hours, or mainly on bright mornings or late afternoons?
- Which direction does the garage door face?
Photo-Eye Sensor Alignment or Replacement: questions
QuestionsDo both sensors get replaced together?
Yes. The sending and receiving sensors are made and sold as a matched pair for a given opener family, and the head unit expects both to be from the same generation. Fitting a pair also means both lenses, both indicators and both mounting points are fresh at the same time, so the alignment holds and the next check is simpler. A single sensor from an unrelated kit is where mystery faults come from.
What happens during the visit, in order?
Questions first: what the door does, when it began, what changed. Then the beam path is cleared, the sensor lights are read, the opener's flash code is counted, and the brackets and heights are measured. If the signs point to the circuit, the wire is traced and tested with a meter. The cause is fixed, whether that is alignment, brackets, wire, a shade or a new pair, and the visit closes with the beam test and the contact reversal test.
Why does it only misbehave on sunny mornings?
Sunlight reaching into the receiving lens can overwhelm the infrared beam from the sending sensor, so for an hour or two the opener acts as if the path is blocked. Garages that face the low sun in winter see it most. The cure is to exchange the two sensors' positions so the receiver no longer looks toward the light, or to fit a small shade over the receiving lens. Once that is done the time of day stops mattering.